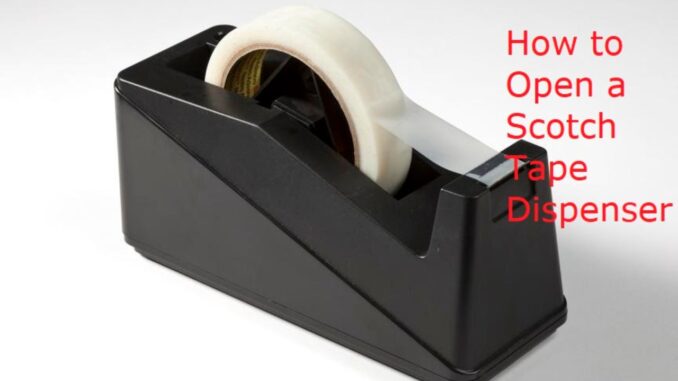
Running out of tape in the middle of work can be frustrating—especially when you’re not sure how to open a Scotch tape dispenser. Don’t worry, it’s much simpler than it looks. Whether you’re using a desktop Scotch tape holder, a small handheld dispenser, or a packing tape gun, this guide will show you how to open, refill, and reload a tape dispenser with ease.
How to Open a Tape Dispenser: Desktop vs. Handheld Models
Before you start, identify what type of tape dispenser you’re using:
- Desktop Scotch Tape Dispenser – A heavy, weighted dispenser with a removable center spindle.
- Handheld Scotch Tape Dispenser – A smaller, portable version with a snap-open cover.
- Packaging Tape Gun – Larger, with rollers and a blade designed for sealing boxes.
Knowing your type makes it easier to figure out how to open your tape dispenser correctly.
How to Open a Scotch Tape Dispenser (Desktop Style)
If you have a desktop Scotch dispenser, here’s what to do:
- Place the dispenser on a flat surface.
- Hold the base steady and pull the plastic spindle out of the center.
- Slide off the empty tape roll.
- Insert a new roll with the sticky side facing down.
- Push the spindle back into place and pull the tape forward to the serrated blade.
How to Open Scotch Tape (Handheld Dispenser Method)
A handheld Scotch tape dispenser works slightly differently:
- Look for the hinge or snap tab along the side.
- Press gently or pull until the cover pops open.
- Remove the old roll and replace it with a new one.
- Make sure the tape unwinds toward the blade.
- Close the cover and pull out a strip of tape.
How to Refill a Scotch Tape Dispenser (Reloading the Tape Roll)
Once the dispenser is open, follow these steps to refill your Scotch tape dispenser:
- Place the roll onto the spindle or inside the compartment.
- Check that the adhesive side of the tape faces downward.
- Pull 2–3 inches of tape out.
- Thread it so it rests firmly against the serrated edge (desktop) or under the roller (packing tape gun).
How to Thread Scotch Tape to the Cutting Blade
Threading the tape properly ensures smooth cutting every time:
- Desktop Scotch Dispenser: Just pull the tape forward until it rests against the serrated blade.
- Packing Tape Gun: Guide the tape under the roller, then thread it through the slot and over the blade.
- Handheld Scotch Dispenser: Pull tape across the small blade edge until it sticks.
Troubleshooting: Why Your Scotch Tape Dispenser Won’t Open
Sometimes things don’t go as planned. Here are quick fixes:
- Dispenser won’t open → Look for the correct snap tab or hinge; don’t use too much force.
- Tape isn’t sticking → You may have loaded it backwards. Reload with sticky side down.
- Tape tears unevenly → Clean the blade with rubbing alcohol to remove adhesive buildup.
- Tape unrolls too fast → On packing tape dispensers, adjust the tension knob.
FAQs: How to Open, Refill, and Use a Scotch Tape Dispenser
Q: How do I remove an empty roll from a Scotch dispenser?
👉 Pull out the center spindle (desktop) or snap open the cover (handheld), then slide the roll off.
Q: Can I use any tape roll in my dispenser?
👉 Only use the roll size designed for your dispenser—oversized rolls won’t fit.
Q: Why is my tape dispenser not cutting properly?
👉 The blade may be dull or sticky. Clean it or replace it for smooth cutting.
Final Thoughts: Opening a Scotch Tape Dispenser Made Simple
Learning how to open and refill a Scotch tape dispenser is easy once you know where to press, pull, or snap. In less than a minute, you’ll have your dispenser reloaded and ready to go.
✅ Key takeaway: Open the dispenser, remove the old roll, insert the new roll sticky-side down, and thread the tape toward the blade. Simple, quick, and stress-free!
Leave a Reply